

how to change skin in gmod
Credit
This guide could not have been created without RainbowDash's original guide, they're extremely similar but I'd like to think that I built on the work they accomplished, and made it even better. http://steamcommunity.com/sharedfiles/filedetails/?id=179552907
Furthermore, Duck, SEKTR, Quinap, Wolf Prince and the AreteGaming Trouble in Terrorist Town community in general contributed a lot to this guide.
http://www.aretegaming.com/
NONE of these skins or files were made by me, with the exception of the scope template. All credit goes to the respective authors.
Terms
Vanilla: The unedited Garry's Mod files, that every player shares and starts with, unless they voluntarily edit them.
Reskinning: Reskinning refers to changing the materials folder, it changes the colours/pattern on a gun. Certain downloads may change the colours/patterns, and include new animations or sounds. These are not compulsory, and can usually be deleted.
Remodelling: Remodelling refers to changing not only the materials (the colour/pattern), but also changing the entire structure of the gun, such as turning a knife into a hammer. Furthermore, most remodels include new sounds and animations.
C_ models: C_models refers to files that begin with the prefix c_. They are renamed v_model files, and are located in the C:\Program Files (x86)\Steam\steamapps\common\GarrysMod\garrysmod\models\weapons\cstrike directory. They allow a gun to be viewable in first person view, in normal gamemodes (aka not Spectator Deathmatch).
V_models: V_models refers to files that begin with the prefix v_. They are located in the C:\Program Files (x86)\Steam\steamapps\common\GarrysMod\garrysmod\models\weapons directory. They allow a gun to be viewable in first person view, whilst in the gamemode Spectator Deathmatch (SpecDM).
W_models: W_models refers to files that begin with the prefix w_. They are located in the C:\Program Files (x86)\Steam\steamapps\common\GarrysMod\garrysmod\models\weapons directory. They allow a gun to be viewable in another person's hands, and when laying on the ground as a prop. Not all weapons have w_ files, this means that you'll see the vanilla weapon on the ground and in other peoples hands, but you will hold the remodelled weapon in first person (so long as you have v_ and c_ models).
SpecDM: SpecDM refers to the gamemode Spectator Deathmatch, that some Trouble In Terrorist Town servers are known to incorporate.
Changing Weapon Skins - Reskinning AND Remodelling
Reskinning:
Step 1: Go to http://css.gamebanana.com/skins and work out what type of things you want to edit, such as a shotgun/desert eagle/glock. It is suggested you Filter by "Order – Skin Name" and find the name of the base gun, such as AK47.
Step 2: Download the skin you want, and extract it to a folder, such as on your desktop.
Step 3: If there is a scripts folder, delete it. (There most likely will ONLY be a materials folder). Following this, move the extracted folders into your Garry's Mod directory C:\Program Files (x86)\Steam\steamapps\common\GarrysMod\garrysmod.
Step 4: Launch Garry's Mod, and test the weapon either on a Trouble in Terrorist Town server, or in sandbox using a mod that adds Counterstrike Source guns, such as http://steamcommunity.com/sharedfiles/filedetails/?id=108720350.
This is a Desert Eagle Reskinned. 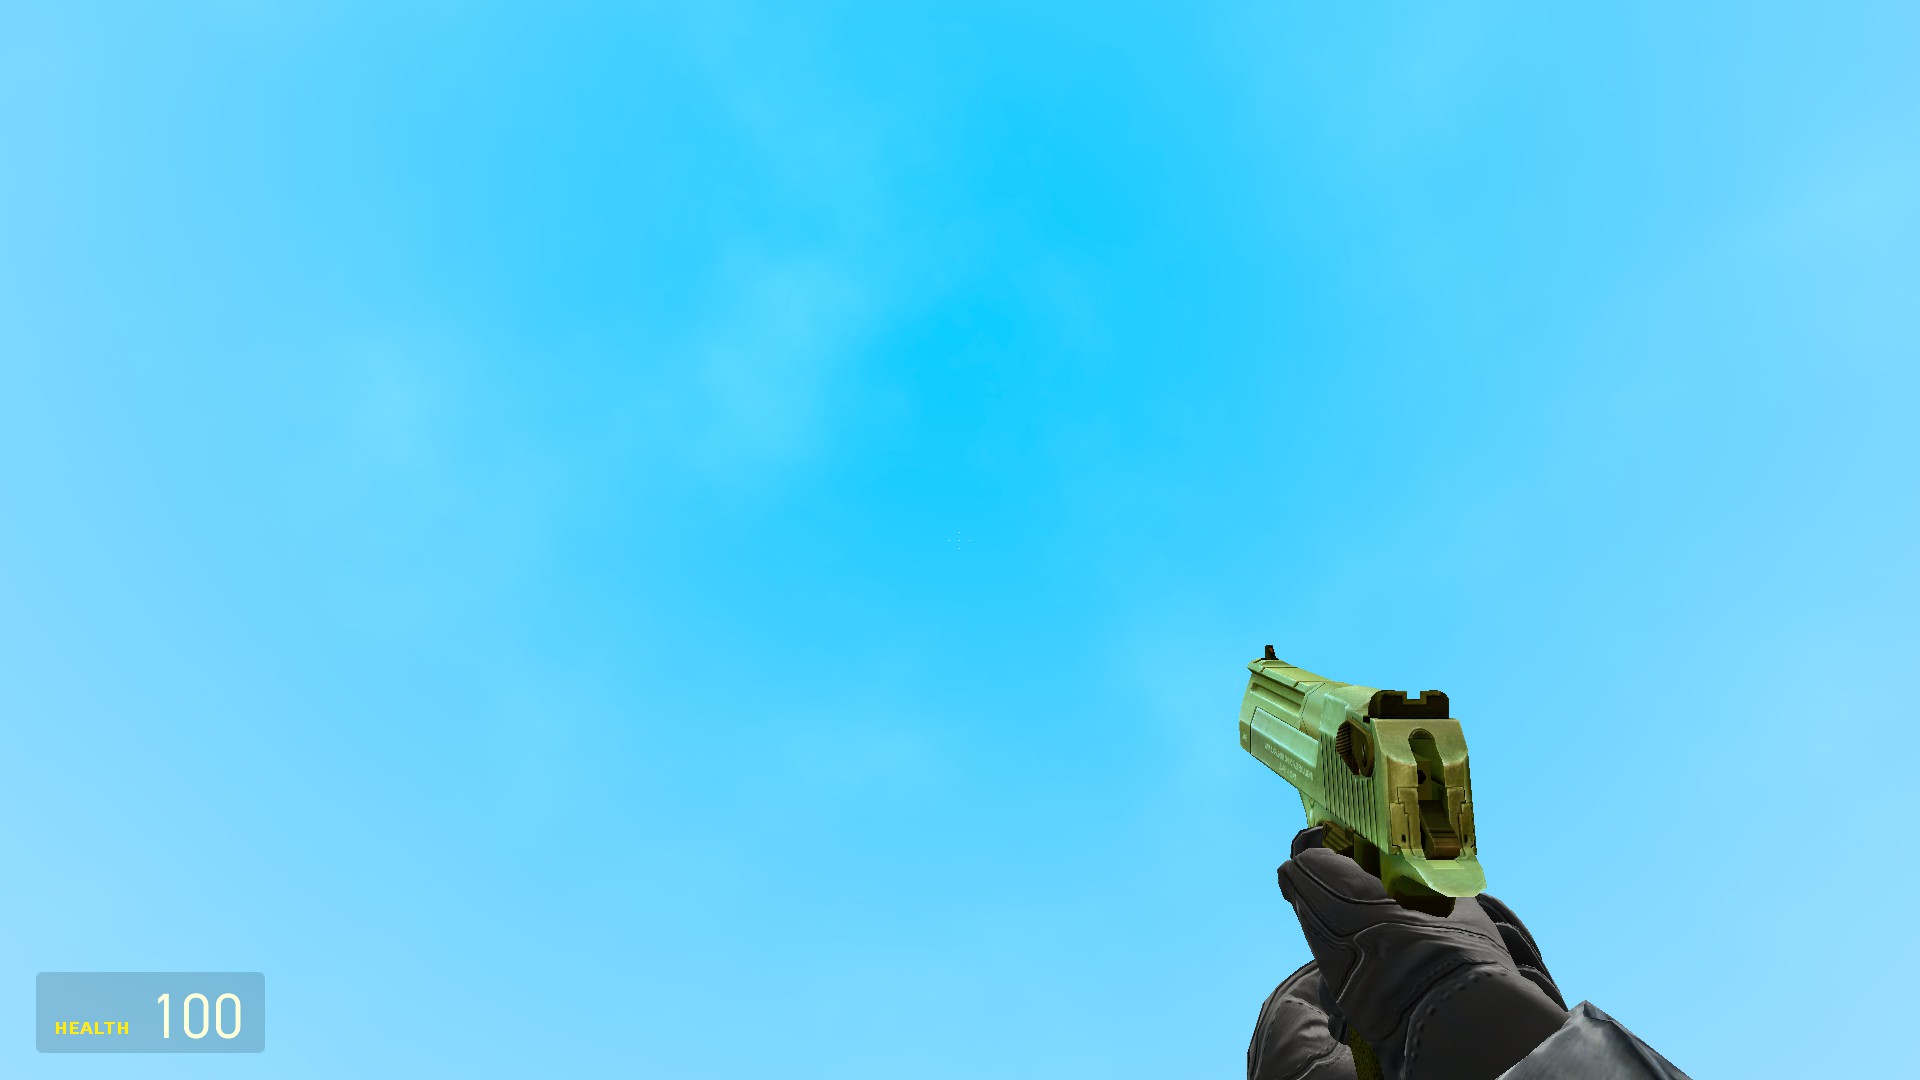
Remodelling:
Step 1: Go to http://css.gamebanana.com/skins and work out what type of things you want to edit, such as a shotgun/desert eagle/glock. It is suggested you Filter by "Order – Rating" to find the best original remodels.
Step 2: Download the skin you want, and extract it to a folder, such as on your desktop.
Step 3: If there is a scripts folder, delete it. Following that, open the models folder, and then the weapons folder. Create a folder called "cstrike" within this weapons folder. Copy and paste all files beginning with the v_ prefix into this cstrike folder.
Step 4: Change the prefix from v_ to c_, within the cstrike folder. Following this, move the extracted folders such as materials, models and sounds into your Garry's Mod directory C:\Program Files (x86)\Steam\steamapps\common\GarrysMod\garrysmod.
Step 5: Launch Garry's Mod, and test the weapon either on a Trouble in Terrorist Town server, or in sandbox using a mod that adds Counterstrike Source guns.
This is a Desert Eagle Remodelled. 
Here is a youtube guide of this process:
Changing Crowbar Skins
Step 1: Go to http://hl2.gamebanana.com/skins/cats/3274 and choose a crowbar reskin/remodel that you want to use. Download it and extract it to a folder.
Step 2: If there is a scripts folder, delete it. Following that, open the models folder, and then the weapons folder. Do NOT create a "cstrke" folder, instead merely rename the v_ files into c_
Step 3: Following this, move the extracted folders such as materials, models and sounds into your Garry's Mod directory C:\Program Files (x86)\Steam\steamapps\common\GarrysMod\garrysmod.
Step 4: Launch Garry's Mod, and test the weapon either on a Trouble in Terrorist Town server or in sandbox. The model may include Half Life 2 arms which looks quite weird.

Changing Glove Skins
Step 1: Go to http://css.gamebanana.com/skins/cats/81 and choose an arm/glove reskin that you want to use. Download it and extract it to a folder.
Step 2: You will be given a materials folder, or something in the same directory. Make sure that the files included in the download are put into a folder called "hands", which are then put into this hierarchy: C:\Program Files (x86)\Steam\steamapps\common\GarrysMod\garrysmod\materials\models\weapons\v_models\hands
Step 3: Launch Garry's Mod, and test the skin either on a Trouble in Terrorist Town server or in sandbox.
Changing Decals
The following are simple changes, requiring only a download and then copying and pasting the materials folder into the following directory: C:\Program Files (x86)\Steam\steamapps\common\GarrysMod\garrysmod
Equipment such as grenade reskins can be found here: http://css.gamebanana.com/skins/cats/10600
Map Props and Decals such as crates and vending machines can be found here: http://css.gamebanana.com/skins/cats/82
Sprites such as Blood Decals, Bomb LEDs (kind of cheating), Bullet Impact, Explosion Effects, Flashlights, Muzzle Flashes, Other/Misc (such as spark effects) and Radio & Voice Icons can be found here: http://css.gamebanana.com/sprites
Changing Scopes
Step 1: Copy and paste this template into whatever image editor you use.

Step 2: Edit the template to your hearts content, make sure you make the stuff you want to be able to see through transparent. Save the image when you are done.
Step 3: Open up VTFedit.
Click File -> Import -> Find your file. Save it as scope.vtf
Step 4: Go to the following directory: C:\Program Files (x86)\Steam\SteamApps\common\GarrysMod\garrysmod
Make a materials -> sprites folder within the garrysmod folder.
The directory will now be C:\Program Files (x86)\Steam\SteamApps\common\GarrysMod\garrysmod\materials\sprites
Copy and paste the scope.vtf in here
Note: Scopes downloaded from CounterStrike Source Gamebanana look VERY WEIRD in Garry's Mod, it is recommended you make your own scope.
Here is an example of one of my basic scopes

Changing Sounds
Step 1: Go to http://css.gamebanana.com/sounds and find a sound pack that you like, it may replace the sounds for single weapons, or an entire range of weapons, such as the Battlefield Mixtape which includes sounds from games such as Battlefield 3, Battlefield 4, Rainbow Six Vegas 2, and Call of Duty: World at War http://css.gamebanana.com/sounds/22618
Step 2: Download it, extract it and move the sounds folder to the following directory (x86)\Steam\SteamApps\common\GarrysMod\garrysmod
Alternatively, you can simply get sound files from individual weapon remodels.
Using GCFScape
I do not know if using Valve Pack Files as a way of compressing files is going to be the new thing that all gamebanana remodels will use, but just in case it does become very popular I will include a guide on how to extract them.
Step 1: Download a file that is just a .vpk, such as http://css.gamebanana.com/skins/141996 and put it in a folder.
Step 2: Open the file with GCFScape. Select the materials, models and sounds folders (and any other ones included, besides scripts), right click and click extract (then choose an extract location).
Step 3: Do the normal things, such as creating a cstrike folder, changing v_ to c_ and putting the files in the correct directory.
Potential Bugs
If you didn't delete the scripts folder for whatever reason (such as it actually having a purpose I don't know of), your sounds may be extremely bugged and either not work at all, or only work for specific weapons. In this case, delete the scripts folder and it SHOULD be fixed. If it still isn't, delete the sound folder.
If guns do not appear in specific gamemodes, make sure you have the v_, w_ and c_ models.
V_ models allow the gun to appear in Spectator Deathmatch.
C_ models allow the gun to appear when you are alive in TTT, and appear in first person view.
W_ models allow the gun to appear in other people's hands, and as a prop on the ground.

Remodelled guns frequently appear on the left side of your screen. I do not know how to fix this, and you either have to put up with it, or choose a different skin. This bug is extremely strange, as one skin may work for one player, but be buggy for another player.

Furthermore, the world model may be broken, and when another player is holding the weapon it actually appears out of their stomach/crotch. This is extremely annoying, and the only way to fix it is to delete the w_ files from your weapon.

Finally, remodelled guns VERY RARELY look normal when you zoom in with this. All of these bugs are likely because we are downloading skins from CounterStrike Source and Half Life 2.
Uninstalling/Deleting Changes
To uninstall the changes made, simply delete the materials, models, sound, and any other installed folders from C:\Program Files (x86)\Steam\steamapps\common\GarrysMod\garrysmod
Following this, everything will have been restored to default.
Due to this deleting all skins you've installed indiscriminately, it may be a good idea to store all skins you like in separate folders, in case you add a new skin which doesn't work, and find it hard to work out which files to delete.
Thankyou for reading this guide, hopefully you will have learnt a lot.
If you have any questions, PLEASE read the guide a second time, and if your question is still unanswered, feel free to leave a comment.
how to change skin in gmod
Source: https://steamcommunity.com/sharedfiles/filedetails/?id=550376024
Posted by: klattmort1951.blogspot.com
0 Response to "how to change skin in gmod"
Post a Comment